My Brutally Honest Take on the Hip Thrust With Yoga Mat Hack
I still remember the first time I hit 225 on hip thrusts without a pad. I woke up the next morning with two symmetrical, deep purple bruises on my hip bones that looked like I had been hit by a slow-moving truck. It is the classic home gym trap: you have the strength to lift the weight, but your skin and bone are not built to act as a shock absorber for cold, knurled steel.
Before you drop forty bucks on a branded barbell pad, you probably reached for the hip thrust with yoga mat hack. It is the ultimate DIY move. But if you do it wrong, you are not just uncomfortable—you are unstable. I have spent years testing how to make 'good enough' gear actually work, and using a yoga mat for hip thrust protection has some very specific rules of engagement.
- Folding is better than rolling: A flat, multi-layered fold provides more stability than a round roll.
- Density is king: If your mat feels like a marshmallow, it will compress to nothing under 100 lbs.
- Traction matters: Use the mat under your feet to prevent the 'bench slide' during heavy sets.
- Weight limits: This hack has an expiration date once you start pulling serious numbers.
The Classic Home Gym Dilemma: Crushed Hips vs. Buying More Gear
We have all been there. You are mid-program, the weights are moving up, and suddenly the barbell feels less like a tool and more like a torture device. Loading a bare bar across your waist is a recipe for a short workout and a long recovery. Most of us are not ready to buy a specialized pad for every single movement, so we grab the nearest piece of foam.
The hip thrust with yoga mat setup is born out of necessity. It is about surviving glute day without needing an ice pack for your pelvis afterward. But there is a massive difference between 'I am using this for one set' and 'this is my permanent solution.' If you are serious about your gains, you need to know the limitations of your DIY padding before the bar rolls off your hips mid-rep.
Why Rolling a Standard Mat Around the Bar Usually Fails
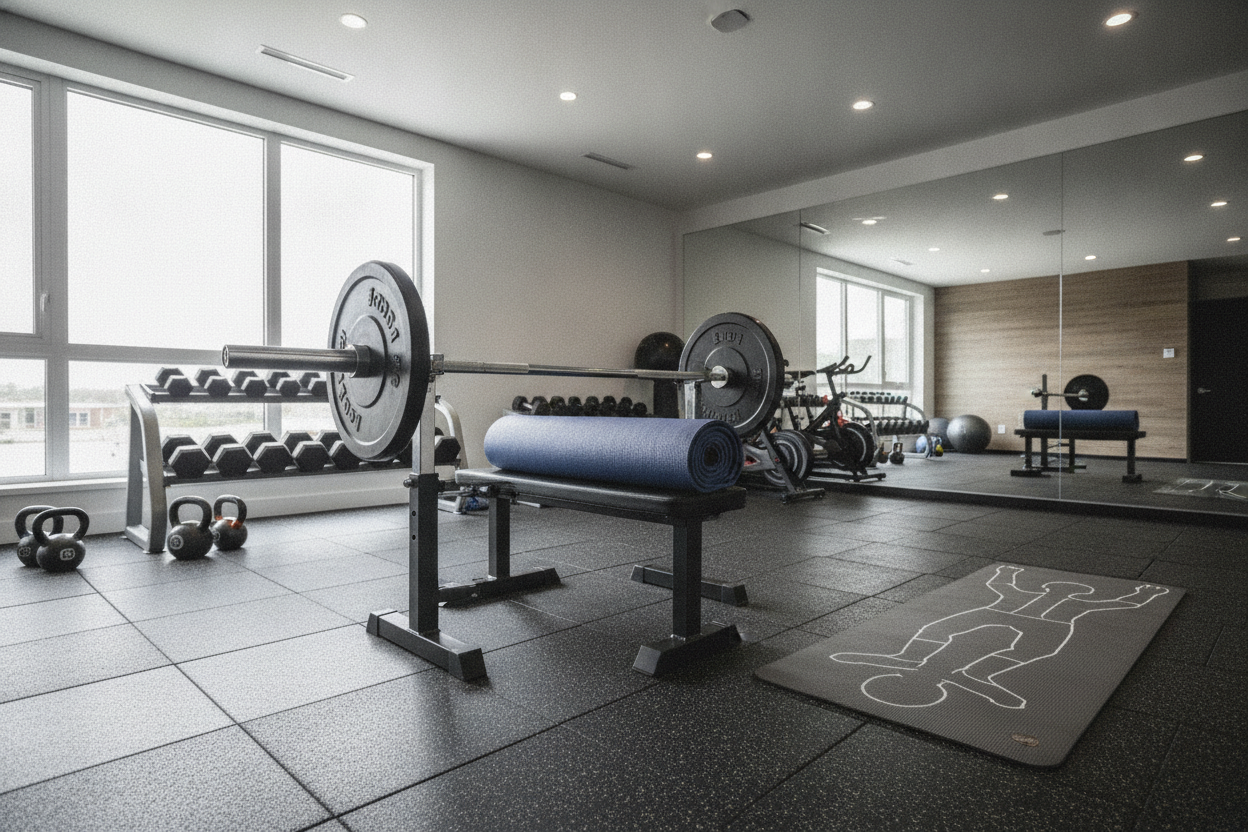
The biggest mistake I see is the 'burrito roll.' You take a thin mat, roll it loosely around the bar, and hope for the best. Within two reps, that roll starts to flatten. Because the foam is not secured, the bar begins to shift inside the roll. This 'squish factor' is a nightmare for your force production. If the bar is wobbling, your glutes are spending energy stabilizing the load instead of pushing it toward the ceiling.
Standard mats are often too soft. They are designed for joints, not for 200-lb iron bars. A high-density large yoga mat is the only way to get real protection because it resists compressing down to a paper-thin layer. If you use a cheap, airy mat, you will end up with asymmetrical bruising because the foam shifts more on one side than the other. It is a messy way to train.
How to Actually Secure the Mat (Without It Unraveling)
Stop rolling the mat. Instead, fold it. Lay the mat flat and fold it over itself three or four times to create a dense, flat rectangle about the width of your torso. Place this directly on your hips, then roll the bar over it. This creates a stable platform that does not have the 'roll' momentum of a cylinder. It stays put.
When you are doing a hip thrust on mat surfaces like this, your hand placement is your secondary safety. Grip the bar wide and pull it slightly into your hips. This tension keeps the makeshift pad from sliding down toward your thighs or up toward your stomach. It takes a second longer to set up, but your pelvis will thank you when the weight gets heavy.
Bodyweight Burners: When the Mat Is Actually on the Floor
Sometimes the best use for the mat is exactly what it was made for: the floor. If you are doing high-rep, unweighted glute bridges or frog pumps, you do not need to wrap the bar—you need to protect your tailbone. Hard garage floors or thin carpets will chew up your spine during high-volume sessions.
For no-equipment floor routines, a quality mat is non-negotiable. It allows you to focus on the mind-muscle connection rather than the fact that your vertebrae are grinding into the concrete. In this context, the yoga mat for hip thrust work is perfect because you are not dealing with the massive compression of a barbell.
Don't Forget Your Feet: Stopping the Dreaded Bench Slide
The most annoying part of hip thrusting at home is not the hip pain—it is the bench slide. You start your set, and by rep five, your weight bench has migrated three inches backward. This ruins your leverage and puts your lower back at risk. This is where a mat becomes a structural necessity for your home gym setup.
I always recommend anchoring the entire setup on a heavy-duty 6x8ft exercise mat. By placing both your feet and the legs of your bench on a grippy, high-traction surface, you eliminate the slide. It turns a frustrating, shifty movement into a rock-solid lift. If you are training on bare wood or polished concrete, this is the single best upgrade you can make for your glute days.
The Verdict: At What Weight Should You Just Buy a Bar Pad?
The DIY mat hack is great for beginners or those training with sub-135 lb loads. It is a bridge to get you through your first few months of training. But let's be real: once you are consistently thrusting two or three plates, the mat is not enough. The pressure per square inch becomes too high for standard yoga foam to handle.
If you find yourself folding the mat into six layers just to stop the pain, it is time to graduate. A dedicated high-density foam thrust pad is designed to distribute that load across a wider surface area. Use the mat hack while you are building your base, but invest in a real pad once you start chasing PRs.
My Personal Experience
I once tried using a cheap, 3mm travel mat for a 315-lb thrust session because I forgot my pad at another gym. Halfway through the second rep, the mat unspooled like a cartoon. The bar rolled directly onto my hip bone, and I had to dump the plates. It was loud, embarrassing, and my hip hurt for a week. Lesson learned: if the mat is not high-density, it is just a placebo. Now, I only use the mat hack for warm-ups or high-rep burnout sets.
FAQ
Can I use a towel instead of a yoga mat?
You can, but it is worse. Towels shift and compress even faster than foam. A yoga mat has at least some 'tack' to help it stay on the bar, whereas a towel will slide the moment you break parallel.
How many times should I fold the mat?
Aim for at least four layers. You want a flat 'landing pad' about 6 to 8 inches wide where the bar sits. This provides the most surface area and the least amount of shifting.
Is it safe for heavy lifting?
Up to a point. Once you are over 185 lbs, a standard yoga mat usually is not enough to prevent the bar from digging in. At that stage, a dedicated barbell pad becomes a safety requirement to keep your form from breaking down due to pain.