Let's Stop Overcomplicating How to Weight Train at Home
I remember scrolling through forums at 2 AM, trying to figure out if I needed a $3,000 rack or if a $200 Craigslist find would actually kill me. The truth is, learning how to weight train shouldn't require a PhD or a second mortgage. Most people get paralyzed before they even pick up a plate because they think they need a perfect program designed by a Russian sports scientist.
You don't. You need a floor that can handle a dropped dumbbell, a bit of grit, and the willingness to look a little silly while you figure out your form. Let's cut the noise and get you lifting.
Quick Takeaways
- Focus on the 'Big Four' movements: Squat, Hinge, Push, and Pull.
- Buy quality basics once rather than cheap plastic junk twice.
- Stop training to failure every set; leave two reps in the tank to stay fresh.
- Consistency beats 'optimal' programming every single time.
The Internet Made Lifting Weights Way Too Confusing
If you spend ten minutes on social media, you'll be convinced that your toes are pointed at the wrong angle and your rest periods are three seconds too short. These 'optimal' fitness influencers make a living by making simple things sound complex. They want you to think there is a secret hack to gravity. There isn't.
Lifting weights is just the art of moving a heavy object from point A to point B without hurting yourself. If you do that consistently and add a little more weight over time, you win. You don't need a 12-week peaking block or a spreadsheet that calculates your RPE to the fourth decimal point. You just need to show up in your garage and put in the work. Real strength is built in the boring basics, not in the fancy variations you see on Instagram.
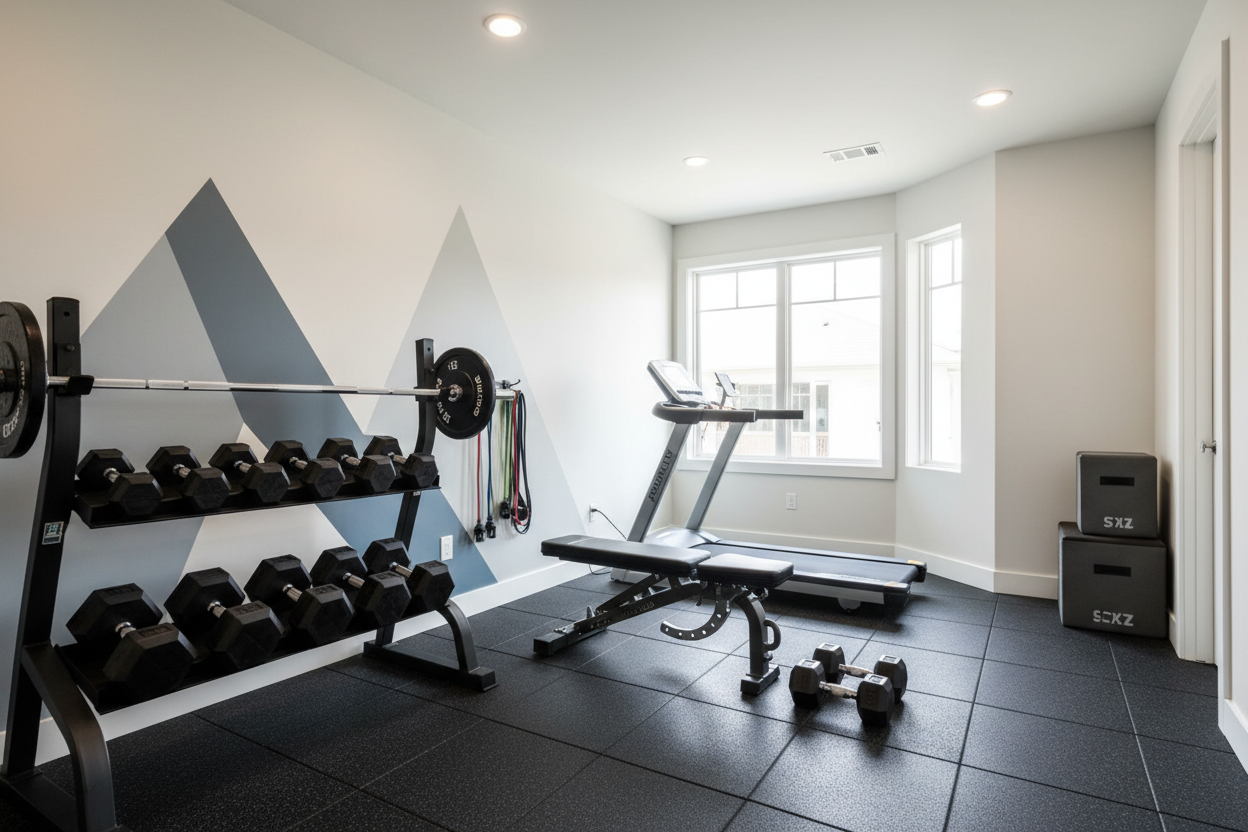
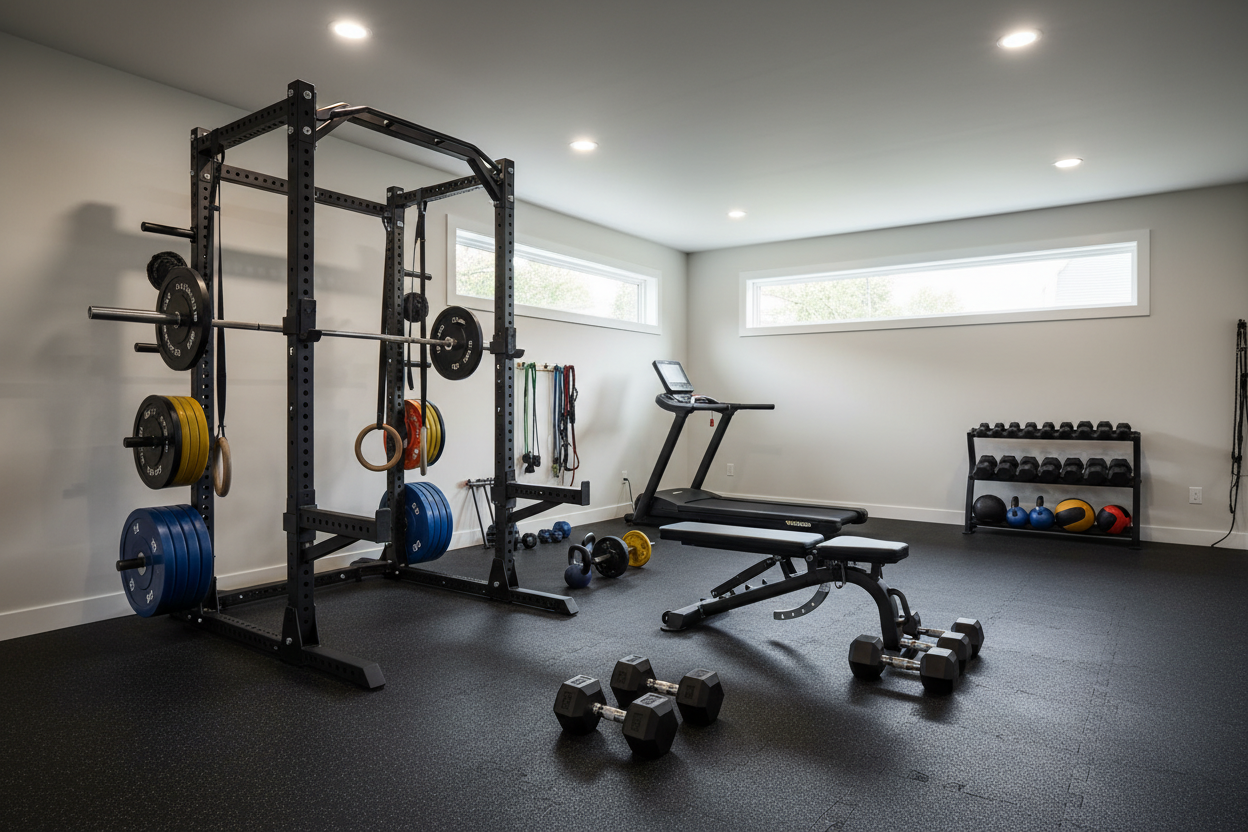
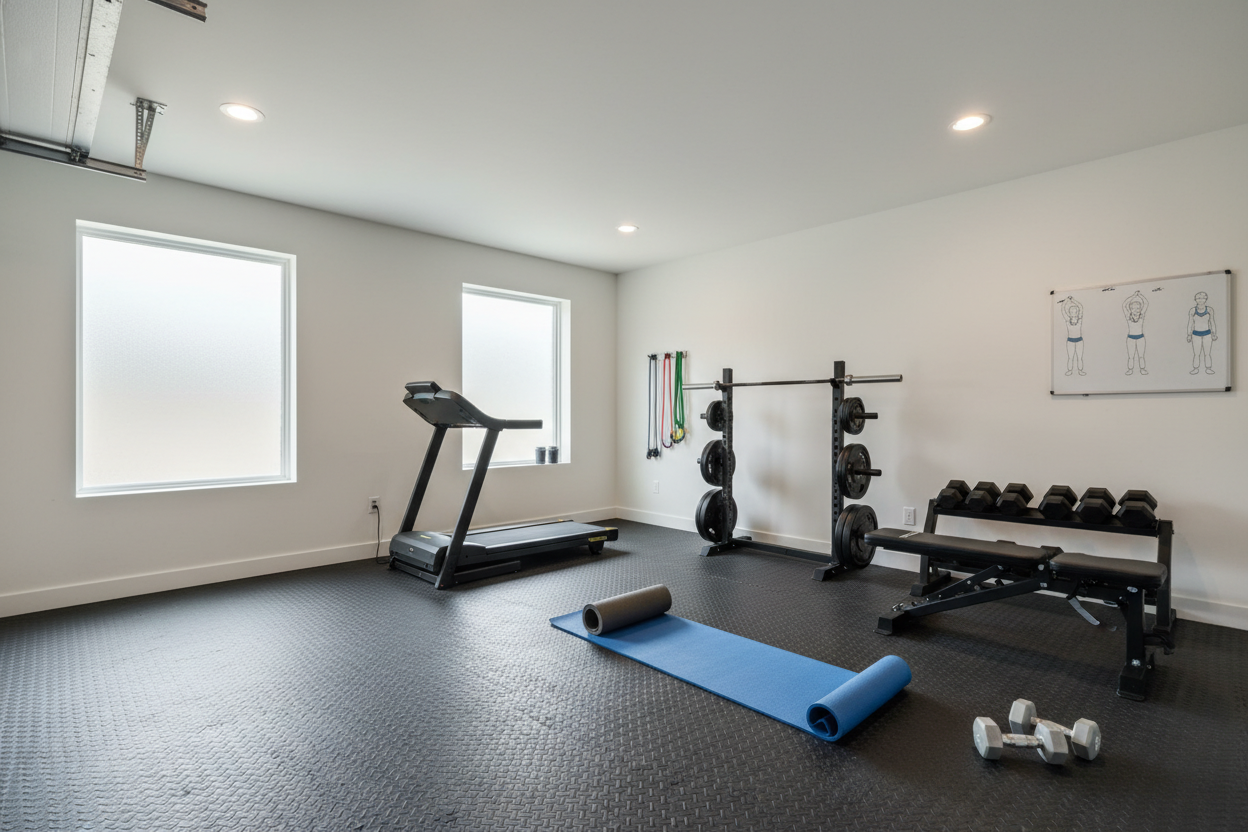
The Baseline Gear You Actually Need to Start
I've seen too many people fill their spare bedroom with cheap gadgets that end up as expensive clothes hangers. If you're serious, you need a foundation that won't wobble when you're under a heavy bar. A flimsy rack is a safety hazard, plain and simple. I've stood inside racks that felt like they were made of soda cans, and it's not a place you want to be with 200 pounds over your chest.
If you have the space, a power rack weight bench package is the gold standard. It gives you a cage for safety and a solid platform for everything else. Look for 2x3 or 3x3 steel tubing and a weight capacity that far exceeds what you can currently lift. You want gear that grows with you, not gear you'll outgrow in six months. A solid rack usually requires about a 4x4 foot footprint, but you'll want at least 7 feet of width to account for a standard Olympic barbell.
Exactly How to Strength Train With Weights (The 4 Basic Moves)
You can ignore the 50 different variations of cable flyes for now. Mastering how to strength train with weights boils down to four movement patterns: the squat, the hinge, the push, and the pull. If you hit these, you've hit everything that matters. These are the functional movements that translate to real-world power.
The squat builds your legs; the hinge (like a deadlift or kettlebell swing) builds your back and hamstrings. For the push, you need a sturdy adjustable weight bench to handle both flat and incline presses. An adjustable bench is superior to a flat one because it allows you to target the shoulders and upper chest more effectively. Finally, the pull—think rows or chin-ups—balances out your posture. If your workout includes one of each, you're doing more than 90% of the people at the local commercial gym. Focus on keeping your spine neutral and your core tight, and the gains will follow.
Sets, Reps, and Not Puking on Day One
The biggest mistake beginners make is trying to go from zero to hero in a single session. They want to know how to do weight training like a pro on Monday and end up unable to walk on Tuesday. That's a fast track to quitting. Your muscles need time to adapt to the new stress you're putting on them.
Start with three sets of 8-10 reps. The secret sauce is 'Progressive Overload.' This just means doing slightly more than last time. Maybe it's five more pounds, or maybe it's one more rep. Also, stop going to absolute failure. If you feel like you could have done two more reps with good form, stop there. This keeps your central nervous system from frying and ensures you'll actually want to train again in two days. You are training for the long haul, not a one-day highlight reel.
What About All Those Fancy Isolation Stations?
Walk into any big-box gym and you'll see rows of specialized weight lifting machines. They have their place, especially for bodybuilders trying to isolate a specific muscle head or for people recovering from surgery. However, for a home gym starter, they're often a waste of floor space and money.
Free weights force your stabilizer muscles to work, which builds real-world strength and coordination much faster than sitting in a machine that dictates the path of the weight for you. If you can't balance a dumbbell, you aren't truly strong yet. Use the machines as accessories once you've finished your main heavy lifts, but don't let them become the main course of your training diet.
Working Around Bad Knees Before You Squat Heavy
I get it—some of us have 'high mileage' joints from years of sports or just bad luck. If your knees scream at the thought of a barbell squat, don't force it yet. You need to build a base of stability and blood flow first. There is no shame in regressing an exercise to stay in the game.
Starting with some non weight bearing quadriceps exercises can help wake up the muscles around the joint without the crushing load of a bar on your back. This helps build the mind-muscle connection and strengthens the tendons. Once the stability is there and the pain subsides, then you can start exploring the rack with just the bar or even bodyweight squats. Listen to your body, but don't use it as an excuse to stop moving entirely.
My Biggest Gear Mistake
Early on, I bought a bargain-bin barbell because it was $50. The first time I dropped it with 45-lb plates, the sleeve bent and never spun again. It turned every lift into a battle against friction and hurt my wrists. I spent more money replacing it than I would have spent buying a decent multi-purpose bar in the first place. Buy the right tool once, even if it hurts your wallet a little more upfront.
FAQ
How many days a week should I lift?
Three days a week is the sweet spot for most. It gives you plenty of recovery time while still providing enough stimulus to get strong. You can do a full-body routine each time.
Do I need a lifting belt?
Not yet. Learn to breathe and brace your core naturally first. Save the belt for when you're moving heavy triples or testing your maxes after a few months of solid training.
Can I build muscle with just dumbbells?
Absolutely. You can do almost every major movement pattern with a good pair of adjustable dumbbells, though you'll eventually want a barbell for heavy lower body work because dumbbells get awkward to hold once they get very heavy.