Home Training Fitness: The Foundation-First Gym Setup
I have watched dozens of clients blow a thousand dollars on a massive multi-station cable machine, only to realize it doesn't fit through their basement door. Or worse, they set up a heavy squat rack on a bare hardwood floor in a cramped, second-story apartment. When it comes to home training fitness, most people start at the top of the pyramid. They buy the heavy iron and the complex machines first.
As a personal trainer who has designed and tested countless home setups, I teach a different approach: the Foundation-First method. You build your space from the floor up. This phased strategy protects your joints, keeps your neighbors happy during midnight workouts, and ensures you only buy equipment you will actually use.
Quick Takeaways
- Start with flooring: A minimum 6x6 foot shock-absorbing surface protects your joints and your subfloor.
- Master bodyweight mechanics before adding external loads to save money and space.
- Prioritize versatile, storable gear like kettlebells and suspension trainers for your first equipment upgrades.
- Only invest in heavy iron and benches once you have outgrown a 50-pound resistance threshold.
Why the Floor Dictates Your Entire Workout
Think about the last time you tried to do burpees or jump squats on a bare concrete garage floor or a thin living room carpet. Your knees ache, your shins throb, and your downstairs neighbors are ready to call the landlord. The absolute biggest mistake I see beginners make is ignoring their foundation.
They drop $1,500 on an elliptical or a massive power rack but refuse to spend $100 on a proper surface. Your floor dictates everything. It determines whether you can safely perform plyometrics, how much noise you generate, and whether your heavy dumbbells will crack a tile when dropped.
A hard, unforgiving surface limits your movement vocabulary. You will subconsciously avoid high-impact exercises like broad jumps or heavy kettlebell swings because your brain knows the landing will hurt. By treating your floor as the most critical piece of equipment, you instantly expand what you can do in your space. You buy yourself the freedom to move aggressively and safely.
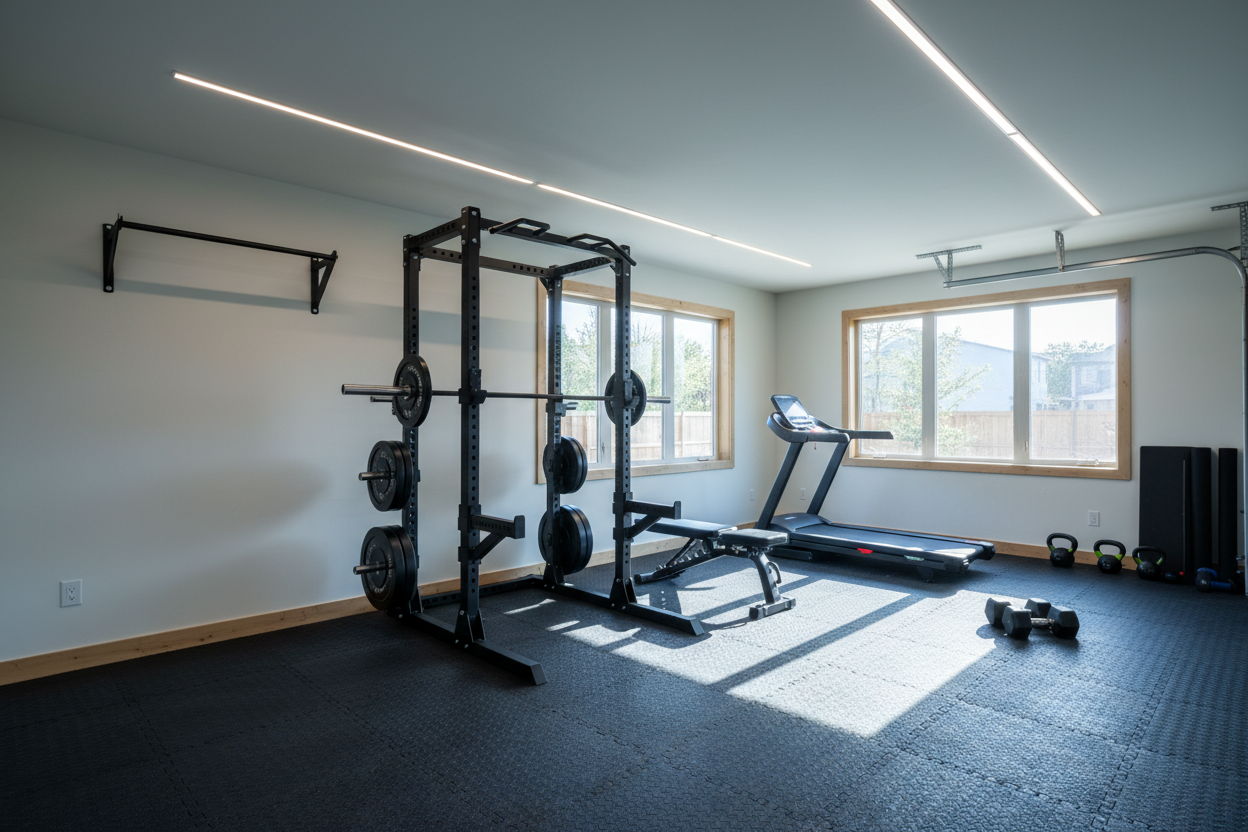
Tier 1: Securing Your Dedicated Movement Space
Before you buy a single dumbbell, you need to claim your territory. I tell my clients to find a space that is at least 6 by 6 feet. This gives you enough clearance for a full wingspan and a standing overhead reach without punching a ceiling fan or kicking a TV.
You do not need to rip up your carpet or pour new concrete to create a dedicated zone. The goal is to create a distinct, psychological boundary that signals it is time to work out. The easiest way to achieve this is by rolling out a high-quality large exercise mat over your existing floor. This instantly transforms a corner of your bedroom or a slice of your garage into a legitimate training zone.
When I set up my first apartment gym, I used cheap interlocking foam tiles. That was a huge mistake. They separated during lateral lunges, and I constantly had to push them back together. A single, contiguous surface provides the traction you need for mountain climbers and lateral bounds without sliding across the room.
It also protects your security deposit by preventing scuffs and sweat stains on the underlying floor. Once you have this space defined, you can spend your first four to six weeks mastering bodyweight basics. Push-ups, air squats, lunges, and planks require zero additional gear. Master the mechanics of your own body weight before you start adding external loads.
Joint Health and Acoustic Control in Shared Spaces
If you live in a multi-story building or share walls with a light sleeper, acoustic control is non-negotiable. Sound travels through floors not just as airborne noise, but as structural vibrations. Every time you land from a jump squat, that impact energy transfers directly into the floor joists.
Biomechanically, this is also a disaster for your joints. The repetitive stress of landing on rigid surfaces sends shockwaves straight up your tibia and into your patellar tendon. Over a six-week training block, this micro-trauma accumulates, leading to shin splints and knee pain.
To mitigate both the noise and the joint stress, you need density, not just squishiness. A standard 3mm yoga mat bottoms out immediately under the force of a plyometric landing. I highly recommend upgrading to a thick 6x8ft exercise mat that offers at least 7mm of dense, shock-absorbing material.
This specific size gives you enough runway for lateral shuffles and multi-directional lunges. It absorbs the kinetic energy of your foot strikes, dampening the sound for your neighbors below while providing a responsive, protective rebound for your ankles and knees. You can train at 5 AM without waking the house or destroying your joints.
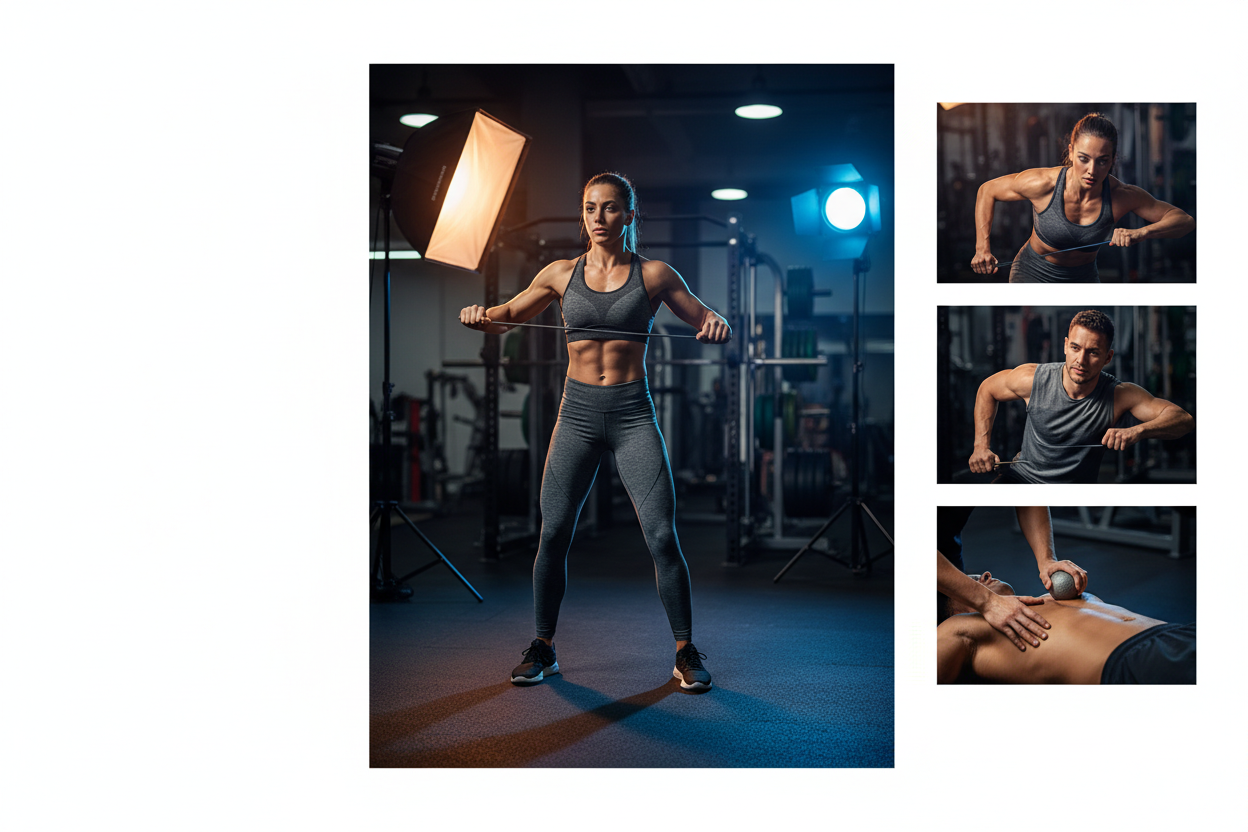
Tier 2: Adding Functional Gear and Resistance
Once you have your foundational space locked in and you can comfortably perform 20 strict push-ups and 40 air squats, it is time to add resistance. But do not rush out to buy a barbell just yet. Tier 2 is all about maximizing versatility while minimizing the footprint.
Your best friends here are resistance bands, a suspension trainer, and a pair of kettlebells. A set of loop resistance bands ranging from 10 to 50 pounds of tension takes up the space of a rolled-up t-shirt. You can anchor them to a doorframe for lat pulldowns, triceps press-downs, and chest presses.
Next, add a suspension trainer. By leveraging your own body weight and gravity, you can perform hundreds of exercises, including the elusive home-gym horizontal row, which is critical for back health.
Finally, invest in two kettlebells. For most male clients, I suggest starting with a 16kg (35lb) and a 24kg (53lb) bell. For female clients, an 8kg (18lb) and a 16kg (35lb) bell usually provide the perfect starting resistance. Kettlebells are incredibly space-efficient. You can tuck them into a closet corner, yet they provide enough load for heavy goblet squats, Romanian deadlifts, and explosive swings.
This combination of bands, suspension straps, and kettlebells forms the core of a highly effective functional fitness training setup. You can easily run hypertrophy, strength, or metabolic conditioning circuits with just these three items. They force you to stabilize the weight through multiple planes of motion, building a rugged, injury-resistant core.
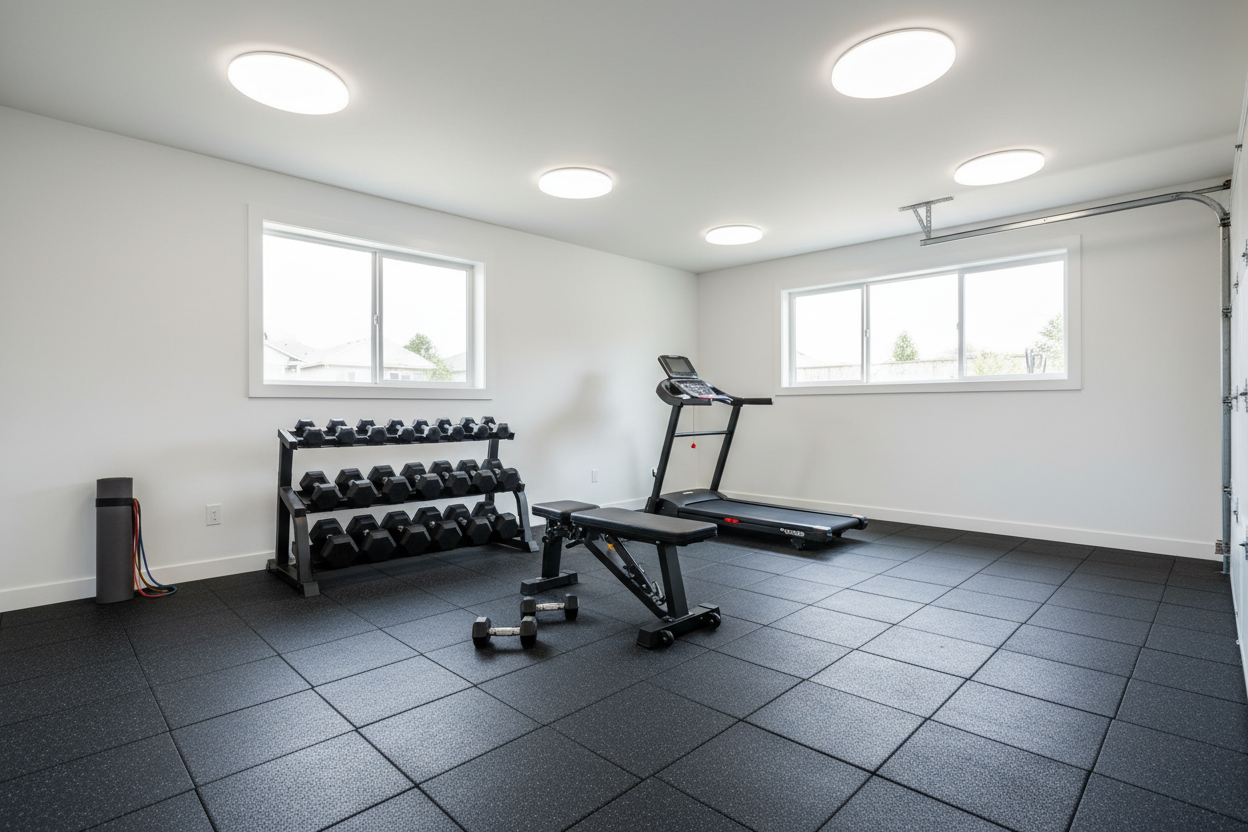
Tier 3: When and How to Introduce Heavy Iron
Most people jump straight to Tier 3 on day one, which is why so many treadmills end up as expensive clothing racks. You only graduate to heavy iron when you have consistently outgrown your Tier 2 equipment. If you can easily perform 15 goblet squats with your heaviest kettlebell or max out your thickest resistance band on chest presses, you are ready.
The smartest initial investment in this tier is a pair of adjustable dumbbells. A set that ranges from 5 to 52.5 pounds replaces an entire rack of traditional hex dumbbells, saving you massive amounts of floor space. They allow for micro-progressions, which are essential for isolating smaller muscle groups like the lateral deltoids and biceps.
Alongside the dumbbells, you will need a stable platform. This is the moment to purchase a sturdy weight training bench. Look for an adjustable bench with a weight capacity of at least 600 pounds. It needs to support your body weight plus the heavy iron you plan to press.
A solid bench opens up incline presses, seated shoulder presses, and heavy dumbbell rows. Only after you have exhausted the potential of heavy dumbbells should you consider a barbell, plates, and a squat rack. Barbells require a minimum 8x8 foot space to load plates safely and maneuver the bar.
My Honest Take: Testing Adjustable Dumbbells
Over the last five years, I have personally tested over a dozen adjustable dumbbell systems in my own 10x10 foot spare room. The space-saving aspect is undeniable. Going from 5 to 52.5 pounds with the turn of a dial allowed me to run intense drop sets without tripping over loose weights.
However, I have one honest downside: the physical length of dial-based adjustable dumbbells stays the same regardless of the weight selected. When doing bicep curls or narrow chest presses at lighter weights, the bulky 16-inch handles often bump into each other. It forces a slight adjustment to your lifting mechanics, but it is a small trade-off for the space you save.
Conclusion: Sticking to the Foundation-First Philosophy
Building a home workout space does not require a massive upfront budget or a dedicated two-car garage. By adopting the Foundation-First philosophy, you protect your joints, keep your living space functional, and ensure every dollar goes toward equipment you will actually use.
Start with a high-density floor to create your physical and mental training boundary. Master your body weight, then slowly introduce versatile functional gear like bands and kettlebells. Only graduate to heavy iron and benches when your strength demands it. I have tested dozens of setups, and the ones that actually get used are the ones built intentionally, step by step. Respect the progression, put in the reps, and your home space will rival any commercial facility.
FAQ
Can I build muscle with just bodyweight and bands?
Absolutely. Muscle growth requires mechanical tension and progressive overload, not a specific type of iron. By utilizing tempo training (like a 3-second negative on push-ups) and high-tension bands, you can effectively stimulate hypertrophy in a small space.
How thick should my home gym flooring be?
For basic bodyweight and band work, 7mm is sufficient. If you plan to drop heavy kettlebells or use a barbell, you need at least 3/4-inch (approx 19mm) vulcanized rubber stall mats to protect the subfloor.
Are suspension trainers safe for standard doors?
Yes, provided the door is solid wood or metal, and it closes toward you (so you are pulling the door into the frame, not against the latch). Always lock the door and test the anchor with a firm tug before suspending your body weight.