Home Gym Workout Routines With Pictures: Form-First Guide
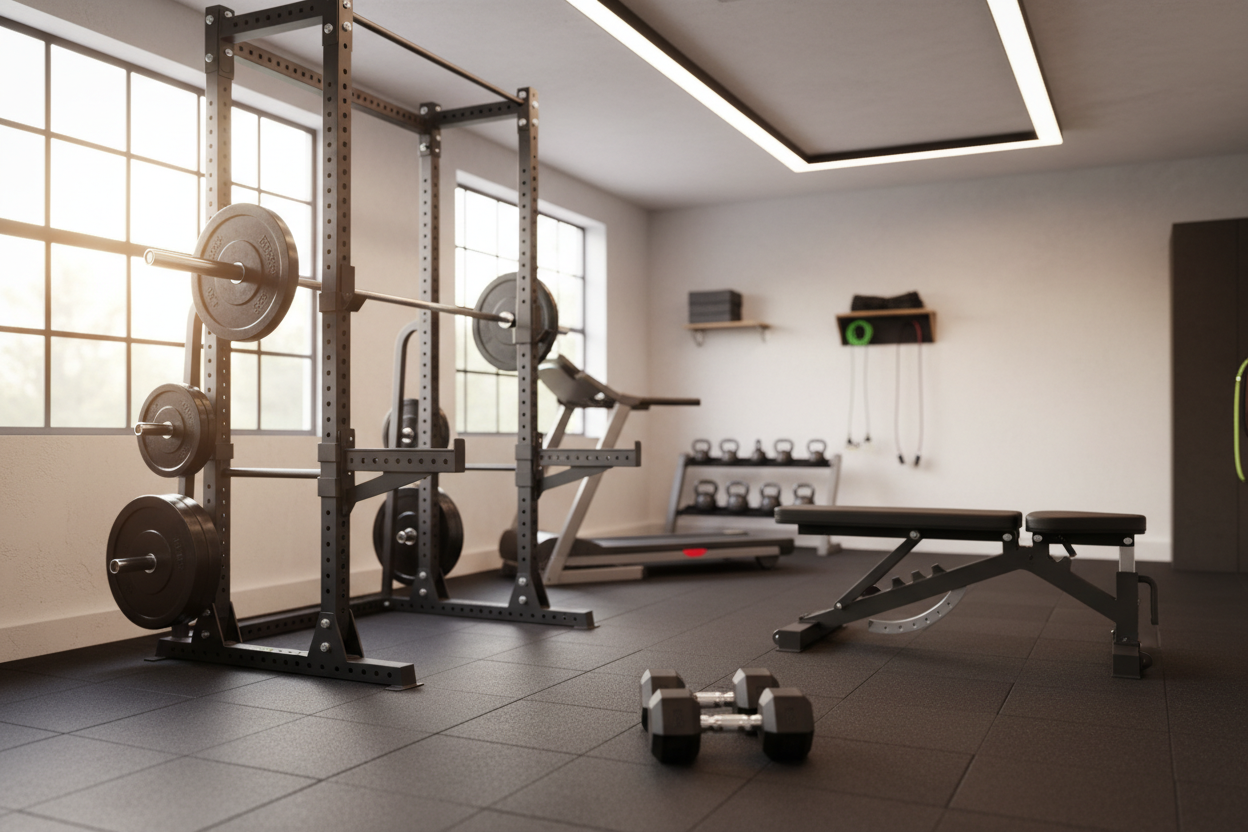
I still remember my first garage gym setup: a rusty barbell, a damp concrete floor, and absolutely zero mirrors. I spent six months doing heavy deadlifts completely blind to my own biomechanics. Eventually, my lower back paid the price. When you train alone, you don't have a coach barking cues to drop your hips or retract your scapula. That is exactly why having reliable home gym workout routines with pictures is non-negotiable. Visual self-correction is the only way to audit your own movement patterns.
As a personal trainer who has built and tested dozens of residential setups, I have learned that the key to longevity in fitness is objective feedback. You have to learn how to coach yourself. By cross-referencing your own recorded sets with proper form photos, you can spot the tiny errors that lead to major injuries.
Quick Takeaways
- Record your sets from a 45-degree angle to compare against form photos.
- Prioritize spinal alignment over adding weight to the bar.
- Use physical landmarks in your room to check your range of motion.
- Film one working set per session to catch subtle form degradation early.
Why Visual Cues Matter When Training Alone
Relying on how a movement feels is notoriously deceptive. When fatigue sets in during rep eight of a heavy squat, your brain will convince you your depth is perfect, even if you are three inches above parallel. Without real-time feedback from a personal trainer, you need an objective standard. This is the core concept behind visual self-correction. By studying static images of proper mechanics, you learn exactly where your joints should be at the start, middle, and end of a lift.
I have seen clients swear their back was flat during a bent-over row, only to watch a video of themselves looking like a scared cat. Comparing a screenshot of your own lift to professional form pictures bridges the gap between perception and reality. It teaches you to recognize the visual cues of safe biomechanics.
You start noticing the angle of your shin, the trajectory of the dumbbell, and the position of your elbows. Over time, this visual auditing builds kinesthetic awareness. This allows you to train safely in total isolation without second-guessing your technique.
Essential Home Gym Workout Routines With Pictures
Building a balanced physique in your living room or garage requires stripping away the fluff. You don't need highly complex, circus-style movements. You need a few foundational home gym workout ideas executed with relentless precision.
The routines below are broken down by movement patterns. I want you to focus heavily on the visual checkpoints mentioned for each. Quality reps always trump quantity, especially when you are the only one holding yourself accountable.
The Foundational Push: Chest, Shoulders, and Triceps
Pushing movements are notorious for wrecking rotator cuffs if your form is even slightly off. Let's take the classic dumbbell bench press. When you look at a proper form picture, the first thing you should notice is the elbow angle. Your elbows should not be flared out at 90 degrees to your torso. They need to be tucked at roughly a 45-degree angle. This simple visual adjustment protects your shoulders and forces your chest to do the actual work.
For overhead presses, the visual checkpoint is your wrist alignment. The barbell or dumbbell should sit directly over your forearm bone, not rolled back toward your knuckles. If you pause a video of your press at the bottom of the movement, your forearm should be perfectly vertical.
If it tilts inward or outward, you are leaking force and stressing the elbow joint. Keep your rep ranges between 8 and 12 for these movements. Focus entirely on maintaining that strict vertical forearm path.
The Essential Pull: Back and Biceps
Most people butcher pulling movements by turning them into glorified bicep curls. The goal of a row or pulldown is to engage the lats, rhomboids, and traps. Visually, a proper pulling motion starts with shoulder blade retraction. Before your elbows even bend, your shoulders should pull down and back. If you are comparing your form to a picture, look closely at the upper back at the initiation of the lift.
If space is tight, a fold up workout machine is an excellent tool that allows for proper pulling mechanics without dominating a room. When doing seated rows or lat pulldowns on these machines, audit your torso angle.
You should have a slight 10-degree backward lean, but your spine must remain rigid. Do not use momentum to swing the weight back. The picture-perfect finish involves pulling your elbows just past your torso, squeezing the shoulder blades together as if crushing a walnut between them.
The Lower Body Anchor: Legs and Glutes
Lower body training at home requires intense focus on hip hinge mechanics and knee tracking. During a goblet squat or front squat, the visual cue you are looking for is the crease of your hip dropping below the top of your knee. That is the gold standard for depth. If you pause a video of your squat at the bottom, your torso angle should roughly match your shin angle.
For Romanian deadlifts (RDLs), the most common error is turning the movement into a stiff-legged forward bend. A proper RDL picture will show the hips pushed far back, a soft bend in the knees, and a completely neutral spine.
Your hands should slide right down your thighs, keeping the dumbbells or barbell dragging against your legs. If the weight drifts away from your shins, you are putting massive shearing force on your lower back. Stick to 3 sets of 10-15 reps, stopping the set the moment your form deviates from the visual ideal.
Core Stability: Beyond the Basic Crunch
Core training is not about flexing your spine repeatedly. It is about resisting unwanted motion. Anti-extension and anti-rotation exercises are the secret to a bulletproof midsection. Take the standard forearm plank. When you look at a textbook plank picture, you should see a straight line from the back of the head down to the heels. The hips should not sag toward the floor, and the glutes should not be hiked up into the air.
Because these holds keep you close to the floor for extended periods, I highly recommend using a comfortable exercise mat to protect your spine and elbows from hard surfaces. When performing dead bugs or bird-dogs, the visual focus is entirely on the lower back.
Your lumbar spine must remain glued to the floor during dead bugs. If you can slide a hand under your lower back in a video recording, your core has lost tension and the set is effectively over.
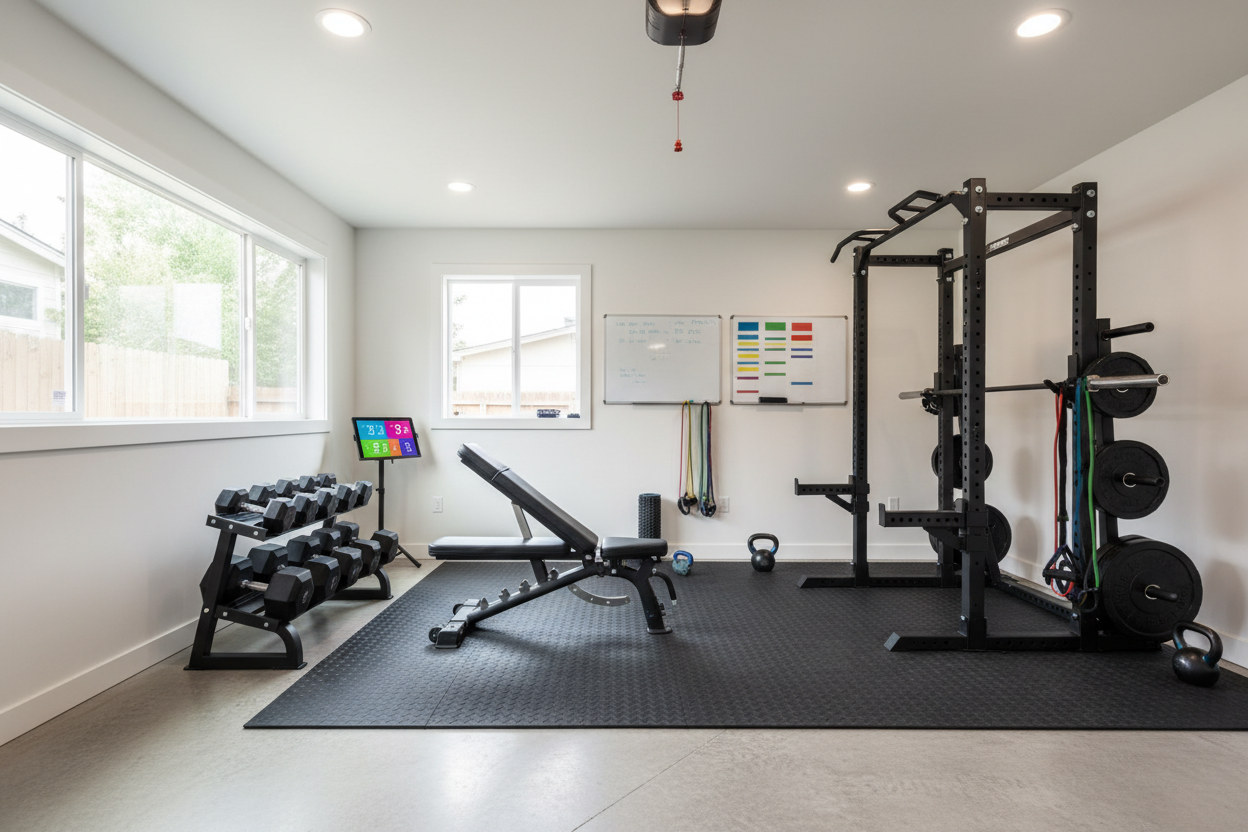
Setting Up Your Space for Visual Feedback
You cannot audit your form if you are training in a dark, cluttered room. Setting up your environment to support visual feedback is just as crucial as the workout itself. First, you need decent lighting. Position a cheap ring light or a bright floor lamp in front of you so your camera can actually pick up the details of your joint angles. Shadows mask bad form.
Next, figure out your camera angles. Leaning your phone against a water bottle on the floor usually results in a distorted, upward angle that makes it impossible to judge squat depth accurately. Invest in a cheap tripod and set the lens at roughly chest height. For squats and deadlifts, record yourself from a 45-degree angle. This gives you a clear view of both your spinal alignment and your knee tracking.
Finally, ensure your training surface provides enough contrast and stability. A large exercise mat for home gym use creates a dedicated, high-contrast zone that makes reviewing your footage much easier. The uniform background helps your body stand out on camera. This allows you to quickly spot if your feet are shifting or your heels are lifting off the floor during heavy sets. One downside of thick mats is they can compress slightly under heavy deadlifts, so ensure you choose one with high-density foam.
Form Degradation: Why Unmonitored Training Stalls Progress
Form degradation is rarely a sudden, dramatic event. It is a slow, insidious creep. Week by week, your squat depth gets half an inch higher. Your rows involve just a little more momentum. Your bench press range of motion shrinks. Because you are training alone, nobody calls you out on it.
You think you are getting stronger because the weight on the bar is going up, but in reality, your mechanics are just getting sloppier. This slow breakdown in technique is exactly why most home gym routines fail to produce long-term results.
When you alter your form to move more weight, you shift the tension away from the target muscle and onto your joints and connective tissues. Progress stalls, nagging pains develop, and motivation tanks. Counteract this by treating your smartphone camera as your personal trainer.
Next Steps: Implementing Visual Audits Daily
Knowledge is useless without application. Starting today, I want you to keep reference pictures of your target exercises pulled up on your phone or printed out on your gym wall. During your workout, film at least one working set of your primary compound movement.
Between sets, watch the footage back. Compare your joint angles, spinal alignment, and range of motion directly to the reference photos. If they do not match, drop the weight by 10% and correct the issue on the next set. This habit takes less than two minutes per workout but will add years to your lifting lifespan.
Frequently Asked Questions
How often should I record my form at home?
Record at least one working set of your primary compound lift, like squats or deadlifts, every single session. For isolation movements, checking your form once every few weeks is usually sufficient.
Can I use mirrors instead of recording video?
Mirrors are helpful for real-time feedback, but turning your head to check a mirror during a heavy squat or deadlift can tweak your neck. Video allows you to maintain a neutral spine during the lift and review the mechanics safely afterward.
What is the best angle to film my lifts?
A 45-degree angle from the front or back is generally best. It allows you to see both the side profile for spinal alignment and depth, and the front profile for knee tracking and grip width simultaneously.
