Ditch the Gym: How to Build Real Muscle in Your Living Room
Building a physique you can be proud of doesn't require a monthly subscription or a commute through rush-hour traffic. While commercial gyms offer rows of shiny machines, the fundamental mechanics of muscle growth remain the same regardless of your location: stress, recovery, and adaptation. The most effective way to organize your training, even with limited equipment, is the Push Pull Legs (PPL) split. This method categorizes muscle groups based on movement patterns rather than body parts, ensuring balanced development and adequate recovery time. By focusing on an at home push pull legs routine, you can replicate the intensity of a weight room using bodyweight, resistance bands, or a simple pair of dumbbells.
I remember the frustration of my first few months training at home. I had a single pair of 20-pound dumbbells and a yoga mat, and I felt completely lost without the squat rack I had relied on for years. My workouts felt disjointed, a random mix of burpees and curls that left me tired but not stronger. It wasn't until I stopped treating home workouts as "cardio" and started applying structured hypertrophy principles that things changed. I shifted to a strict split, tracking my reps and focusing on tempo. Surprisingly, my stability improved, and my nagging shoulder pain from heavy bench pressing vanished. That experience taught me that the environment matters far less than the programming.
Why the PPL Split Works Anywhere
The philosophy behind this training style is straightforward. You spend one day pushing things away from you (chest, shoulders, triceps), the next day pulling things toward you (back, biceps, rear delts), and the third day focusing on the lower body. This organization prevents the common mistake of overtraining certain muscle groups while neglecting others. For example, doing push-ups every single day might pump your chest, but it deprives the muscle fibers of the 48 to 72 hours of rest they need to repair and grow.
When designing an at home ppl workout, the frequency is flexible. You can train three days a week with rest days in between, or six days a week (Push/Pull/Legs/Push/Pull/Legs/Rest) for higher volume. The six-day split is intense but highly effective for those looking to maximize muscle gain without heavy external loads.
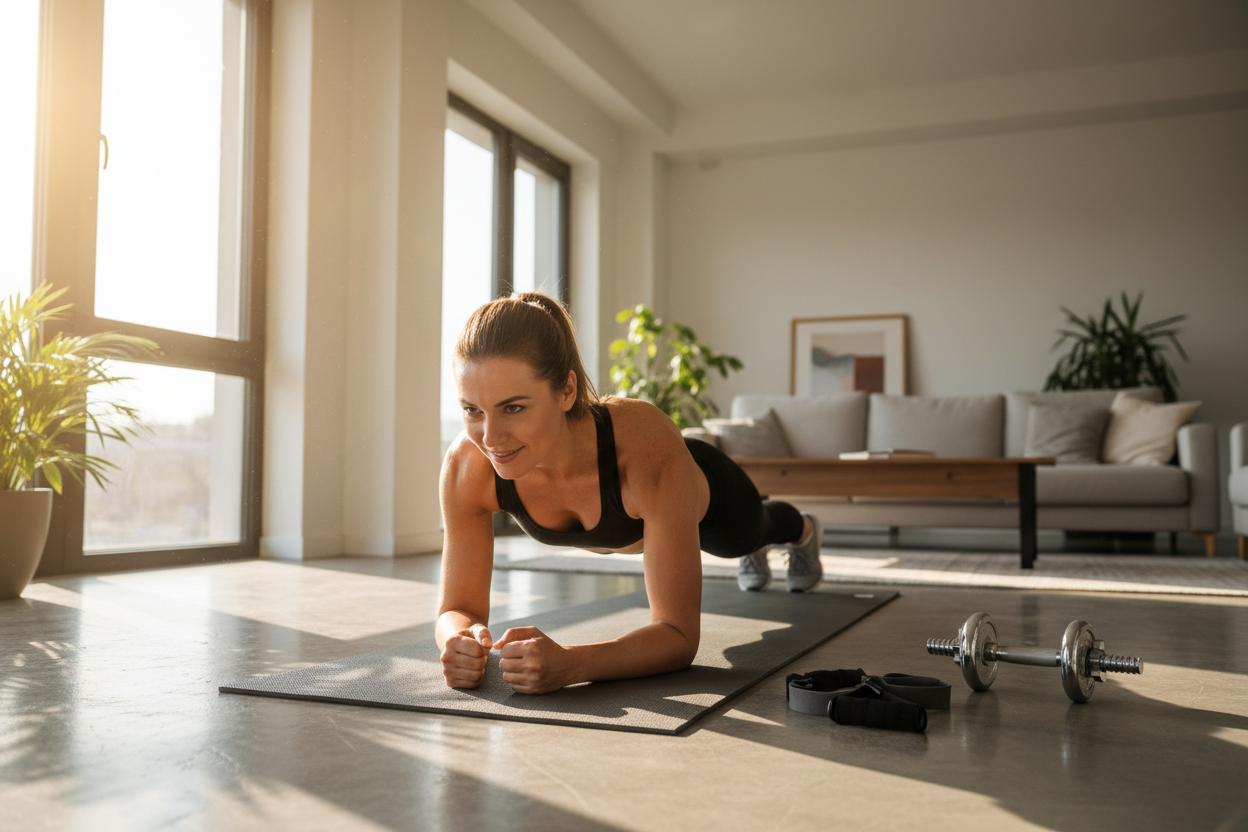
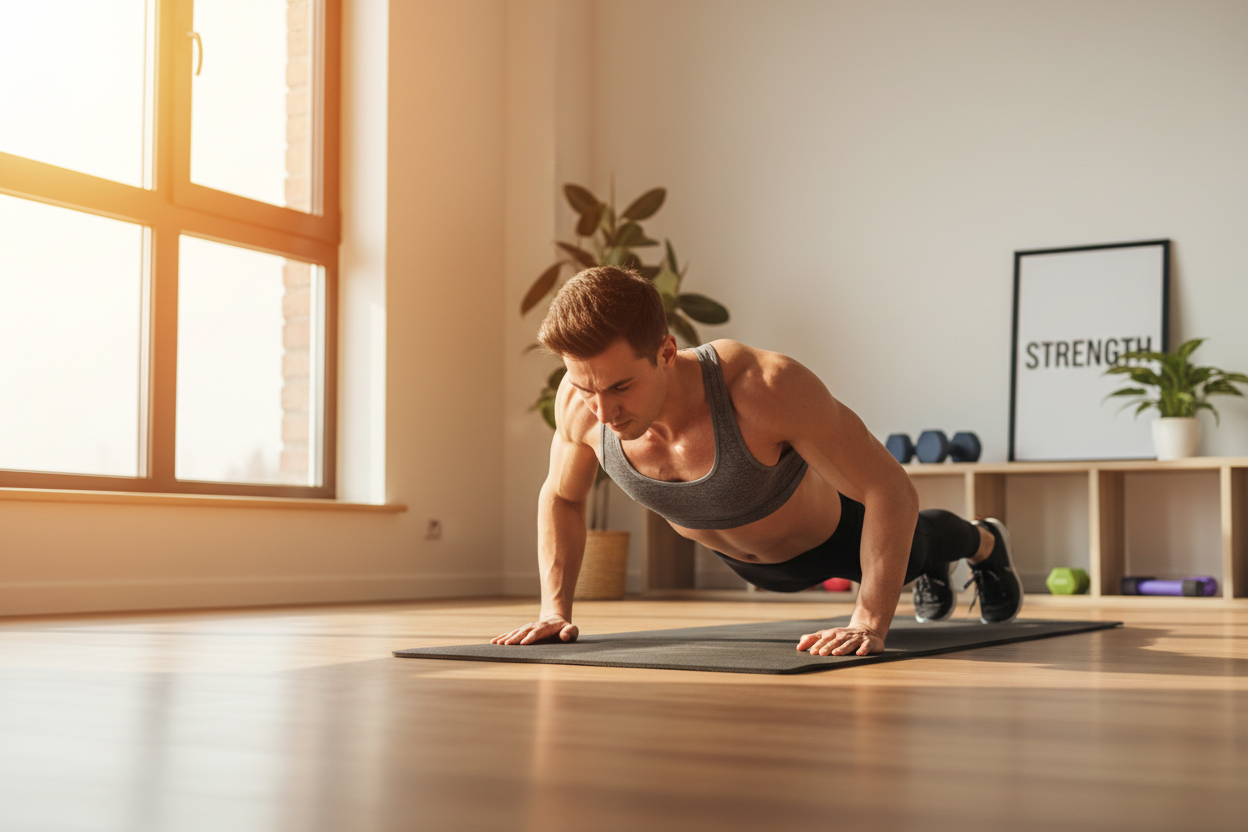
Day 1: The Push Session
Your push day targets the "mirror muscles"—the pectorals, the anterior deltoids, and the triceps. Without a bench press, the floor becomes your best tool. The standard push-up is often dismissed as too easy, but mechanical adjustments can make it humbling for even advanced lifters.
Start with decline push-ups by elevating your feet on a chair or sofa. This shifts the emphasis to the upper chest and shoulders. Aim for 3 to 4 sets near failure. Follow this with standard push-ups, but slow the tempo down—three seconds down, one second pause, explosive push up. This increase in time-under-tension compensates for the lack of heavy weights.
For shoulders, the pike push-up is the gold standard. By forming an inverted V-shape with your body, you mimic the mechanics of an overhead press. If you have dumbbells or even water jugs, standing overhead presses and lateral raises are essential for capping off the deltoids. Finish the session with tricep dips using the edge of a sturdy chair or couch. Keep your elbows tucked close to your ribs to protect your shoulders and isolate the back of your arms.
Day 2: The Pull Session
Training the back without machines is arguably the biggest challenge of home fitness. This is where an at home push pull legs routine requires some creativity. If you have a pull-up bar, that is your primary movement. It is the squat of the upper body. If you cannot do a pull-up yet, use resistance bands for assistance or perform negatives (jumping up and lowering yourself slowly).
Without a bar, you need to look at horizontal pulling. The "door frame row" is a surprisingly effective starting point. Stand in a doorway, grip the frame with one hand, and lean back. Pull your body toward the frame using your lat muscles. For a more intense variation, lie underneath a sturdy table, grip the edge, and pull your chest toward the table (inverted rows). This hits the mid-back and rhomboids effectively.
If you have dumbbells, bent-over rows are non-negotiable. Keep your back flat and pull the weight to your hip pocket, not your chest. Finish the session with bicep curls. If you lack heavy weights for curls, use a towel. Step on the middle of a towel and pull the ends up while resisting with your leg—this creates manual dynamic tension that can be incredibly taxing.
Day 3: The Leg Session
Leg day at home is not about heavy loading; it is about unilateral intolerance. Since you likely cannot put 300 pounds on your back in your living room, you must train one leg at a time. This doubles the workload and exposes imbalances.
The Bulgarian Split Squat is the king of home leg exercises. Place one foot behind you on a couch or chair and squat down with the front leg. This movement torches the quads and glutes while demanding significant core stability. It is grueling, uncomfortable, and highly effective. Perform 3 to 4 sets of 8 to 12 reps per leg.
Follow this with single-leg Romanian deadlifts to target the hamstrings. Balance on one foot and hinge at the hips, reaching toward the floor while keeping your back straight. This teaches hip stability and hamstring recruitment without needing a barbell. Glute bridges (performed on the floor) and calf raises (performed on a step or a thick book) round out the lower body workout. If the bodyweight variations become too easy, slow down the movement or add a pulse at the bottom of each rep.
Progression Without Weights
The biggest question surrounding the at home ppl workout is how to keep making progress. In the gym, you just add a 5lb plate. At home, you must manipulate other variables. Decreasing rest times is one method; if you usually rest 90 seconds between sets, cut it to 60. This increases metabolic stress.
Another method is increasing range of motion. Elevating your hands on books during push-ups allows your chest to dip below floor level, stretching the muscle fibers more effectively. Finally, focus on the mind-muscle connection. Squeezing the muscle as hard as possible at the peak of the contraction can make a light weight feel heavy. This internal tension is crucial when external load is limited.
Nutrition and Recovery
Training provides the spark, but nutrition provides the fuel. Just because you are training at home doesn't mean you can ignore dietary needs. Protein intake remains priority number one for muscle repair. Aim for a serving of lean protein with every meal. Since home workouts can sometimes burn fewer calories than a high-volume gym session, monitor your carbohydrate intake to ensure it matches your activity level.
Sleep is the final piece of the puzzle. You grow when you sleep, not when you train. Ensure you are getting 7 to 9 hours of quality rest. The advantage of an at-home routine is the time saved on commuting—invest that extra time back into your sleep schedule or meal preparation.
Consistent Action Over Perfect Equipment
Waiting for the perfect home gym setup is a trap. You do not need a power rack or a cable machine to get in the best shape of your life. The body cannot tell the difference between a metal plate and a jug of water; it only understands tension. By adhering to a structured split and consistently challenging your limits, you can transform your physique within the four walls of your home.
Frequently Asked Questions
Can I build muscle effectively with just bodyweight?
Yes, you can build muscle with bodyweight, especially as a beginner or intermediate trainee. The key is to use difficult variations (like single-arm push-ups or pistol squats) and increase the volume to near-failure to stimulate hypertrophy.
How long should a home workout last?
A focused home workout should take between 45 to 60 minutes. If you are training with high intensity and short rest periods, you can achieve a complete stimulus in this timeframe without needing to spend hours training.
What is the best way to warm up for a home workout?
Start with 5 minutes of dynamic movements to get blood flowing, such as jumping jacks, arm circles, and bodyweight squats. Do not stretch statically before lifting; focus on mobility work that mimics the movements you are about to perform.
