
Decoding Exercise Instructions for Safe Home Workouts
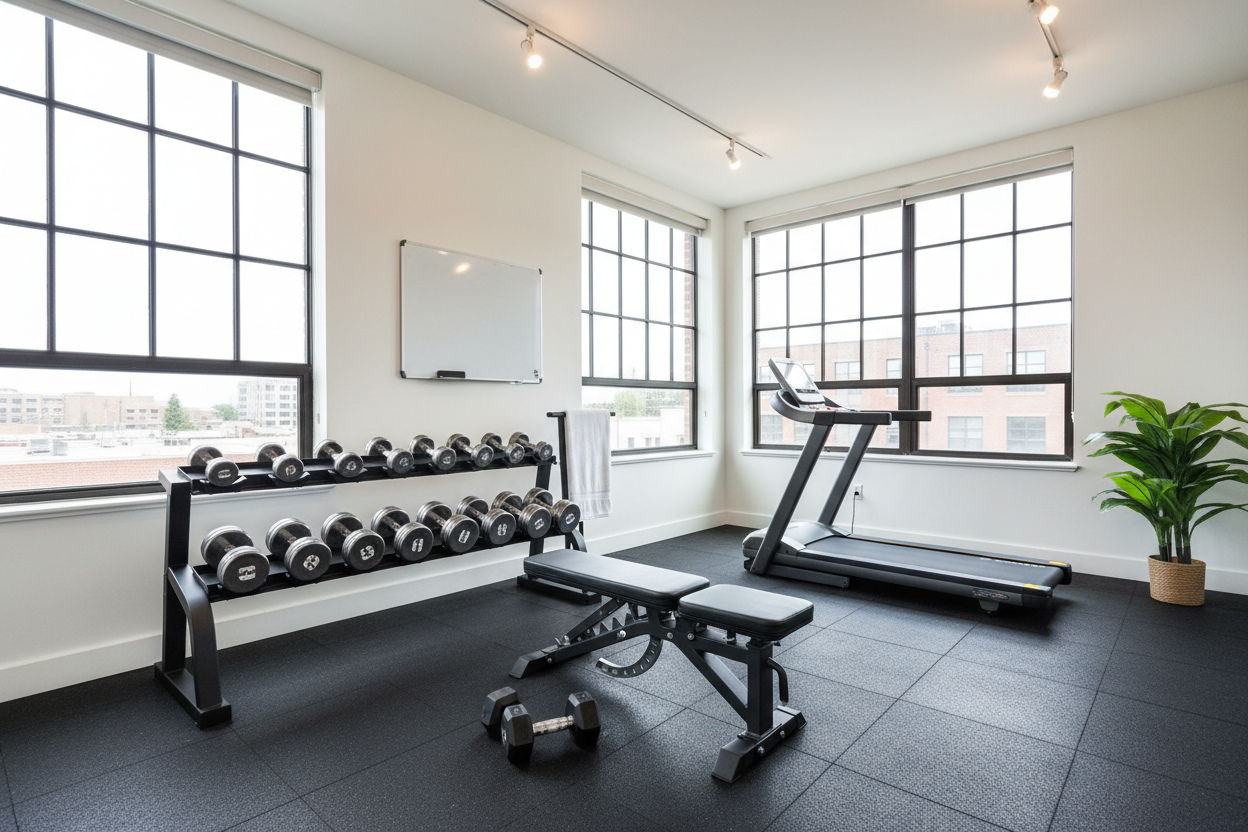
It is 11 PM, and you are standing in a cramped 8x10 foot spare bedroom staring at your phone. You have a 35-pound kettlebell in your hands, trying to decipher a fitness influencer's rapid-fire video on how to do a proper hip hinge. When you train alone in a home gym, relying on generic exercise instructions can feel like trying to build a house without a blueprint.
Over the last decade, I have built and tested dozens of home gym setups for clients, ranging from budget-friendly corner spaces to fully equipped garage iron paradises. The biggest hurdle I see isn't a lack of equipment. It is a lack of understanding.
When you don't have a trainer watching your every move, you have to become your own coach. That means learning how to decode vague fitness jargon and translate it into safe, effective movement patterns that actually work for your specific body.
Quick Takeaways
- Generic online advice often ignores individual biomechanics like femur length and ankle mobility.
- Engaging your core means 360-degree bracing, not sucking your stomach in.
- Filming your sets from a 45-degree angle provides the most accurate feedback for self-correction.
- Complex, overly flashy movements online are usually red flags for poor programming.
The Problem with Generic Exercise Instructions
Most text descriptions and quick social media videos fail home gym users because they completely ignore individual biomechanics. A 6-foot-3 guy with long femurs is going to look entirely different doing a barbell back squat than a 5-foot-2 woman. When generic guides tell everyone to keep their toes pointed perfectly forward, they are setting half their audience up for knee pain.
Furthermore, standard text guides lack crucial context regarding equipment limitations. If you are using a set of 5-52.5 lb adjustable dumbbells, those blocks are significantly bulkier than standard commercial gym hex dumbbells. Trying to perform a close-grip press exactly as described in a textbook might physically pinch your chest or alter your range of motion.
Good form is not about perfectly mimicking a picture in a magazine. It is about applying mechanical tension to the target muscle while keeping your joints in a safe, stacked position. When you train alone, you need to stop trying to look exactly like the instructor and start focusing on how the movement actually feels in your target muscles.
Translating Common Trainer Form Cues
Trainers love to throw around phrases like 'fire your glutes' or 'keep your chest proud.' If you don't know what those physical sensations actually feel like, the words are useless. You end up contorting your spine into uncomfortable positions trying to guess what the instructor meant.
This disconnect becomes a serious liability when you are training solo. Mastering these basic physical cues is especially critical when you rely on minimalist exercise routines with limited equipment. If you only have a single 50-pound sandbag and a doorway pull-up bar, your body positioning dictates the entire stimulus of the workout.
To train safely, we have to break down these vague concepts into actionable steps. You need to know exactly what your muscles should be doing before you unrack a loaded barbell or pick up a heavy kettlebell.
What 'Engage Your Core' Actually Means
This is easily the most misunderstood cue in fitness. 'Engage your core' does not mean sucking your stomach in to look skinny. Sucking in actually destabilizes your spine, making you highly vulnerable to injury during heavy lifts.
Instead, think about bracing for a punch. If someone was going to hit you in the stomach, you would bear down, expanding your abdominal wall outward in a 360-degree ring. Try taking a deep breath into your belly, pushing your obliques out against your hands, and holding that pressure. That firm, pressurized cylinder is what safely supports your spine during a heavy deadlift or squat.
Demystifying 'Pack Your Shoulders'
You will hear this cue constantly for both pressing and pulling movements. 'Packing your shoulders' refers to scapular retraction and depression. In plain English, it means pulling your shoulder blades together and then pushing them down toward your back pockets.
Try shrugging your shoulders up to your ears. Now roll them back, and forcefully pull them down away from your neck. This locked-in position creates a stable base of support on your bench and protects your delicate rotator cuff tendons when you are pushing heavy weight or hanging from a pull-up bar.
Setting Up Your Space for Safe Execution
Your physical environment dictates how safely you can move. A cluttered 6x6 foot space with 45-pound plates scattered around is an ankle sprain waiting to happen. You have to organize your layout to match your workout style, ensuring you have clear lanes for dynamic movements like lunges or kettlebell swings.
Mirror placement is another critical factor. While mirrors are great for checking your starting position, staring at yourself mid-rep can actually pull your cervical spine out of alignment. If you are doing a heavy deadlift, cranking your neck sideways to check the mirror is a terrible idea.
Instead of relying on mirrors during the lift, use your smartphone. Buy a cheap tripod and set it up at hip height. Film your working sets from a 45-degree angle. This vantage point lets you see both your spinal alignment and your joint tracking simultaneously. Review the footage between sets and adjust your stance or grip accordingly.
Red Flags in Online Workout Instruction
The internet is flooded with uncredentialed influencers pushing gimmick movements for views. Knowing how to spot poor workout instruction will save you from wasting time and risking injury. The biggest red flag is an overcomplication of basic movement patterns.
If a video tells you to balance on a stability ball while juggling dumbbells to 'target your inner core,' swipe past it. Effective strength training is inherently boring. It consists of squats, hinges, pushes, pulls, and carries. It does not look like a circus act.
Another warning sign is a lack of modifications. Quality instruction always provides regressions. If a program demands you perform 50 box jumps but offers no step-up alternative for those with knee issues or low basement ceilings, the creator doesn't understand practical programming. Always look for coaches who explain the 'why' behind an exercise, rather than just barking rep counts at the camera.
Becoming Your Own Form Coach
Learning to coach yourself takes time, but it is the most valuable skill you can develop for your home gym practice. It relies heavily on proprioception—your body's ability to sense its movement and position in space.
I recently spent three months testing a popular 10-40 lb adjustable kettlebell for my own minimalist programming. The weight range was fantastic for a small apartment, but I quickly discovered a major downside: the internal locking mechanism clanked loudly during explosive movements like snatches. That noise made it incredibly difficult to hear my own breathing patterns and foot strikes, which are subtle auditory cues I use to gauge my timing and form.
When you lose one form of feedback, you have to lean heavier on others. I started recording every single set. I would watch the playback immediately, looking for specific checkpoints: Were my shins vertical? Was my back flat? Did my hips extend fully? By matching what I felt during the rep with what I saw on the screen, I slowly calibrated my internal sensors. You can do the exact same thing in your living room.
How do I know if my back is actually straight?
Use a PVC pipe or a broomstick. Hold it against your back so it touches three points: the back of your head, between your shoulder blades, and your tailbone. Practice your hip hinge. If the stick loses contact with any of those three points, your spine is rounding or overextending.
Should I feel pain when trying a new exercise?
Muscle burning and fatigue are normal; sharp joint, nerve, or tendon pain is not. If you feel a pinching sensation in your shoulder or a shooting pain down your leg, stop immediately. Reassess your setup, lower the weight, or swap the movement entirely.
Where is the best place to put my phone to record my form?
For most lifts, place your phone on a tripod at hip height, about 5 to 6 feet away, at a 45-degree angle to your body. This allows you to see your joint angles, bar path, and spinal alignment clearly without the distortion you get from filming straight on or purely from the side.