Build Strength on a Budget: The Ultimate Guide to Constructing Your Own Power Rack
Building a home gym often hits a significant roadblock when you start looking at the prices of heavy-duty equipment. The centerpiece of any serious strength training setup is the power rack, but commercial options can easily cost upwards of a thousand dollars. The good news is that you don't need a commercial budget to get a commercial-grade workout. Constructing a diy workout rack is a practical project that requires only moderate skills, basic tools, and a fraction of the cost of buying new. By sourcing your own materials and dedicating a weekend to assembly, you can create a safe, sturdy structure customized exactly to your space and lifting needs.
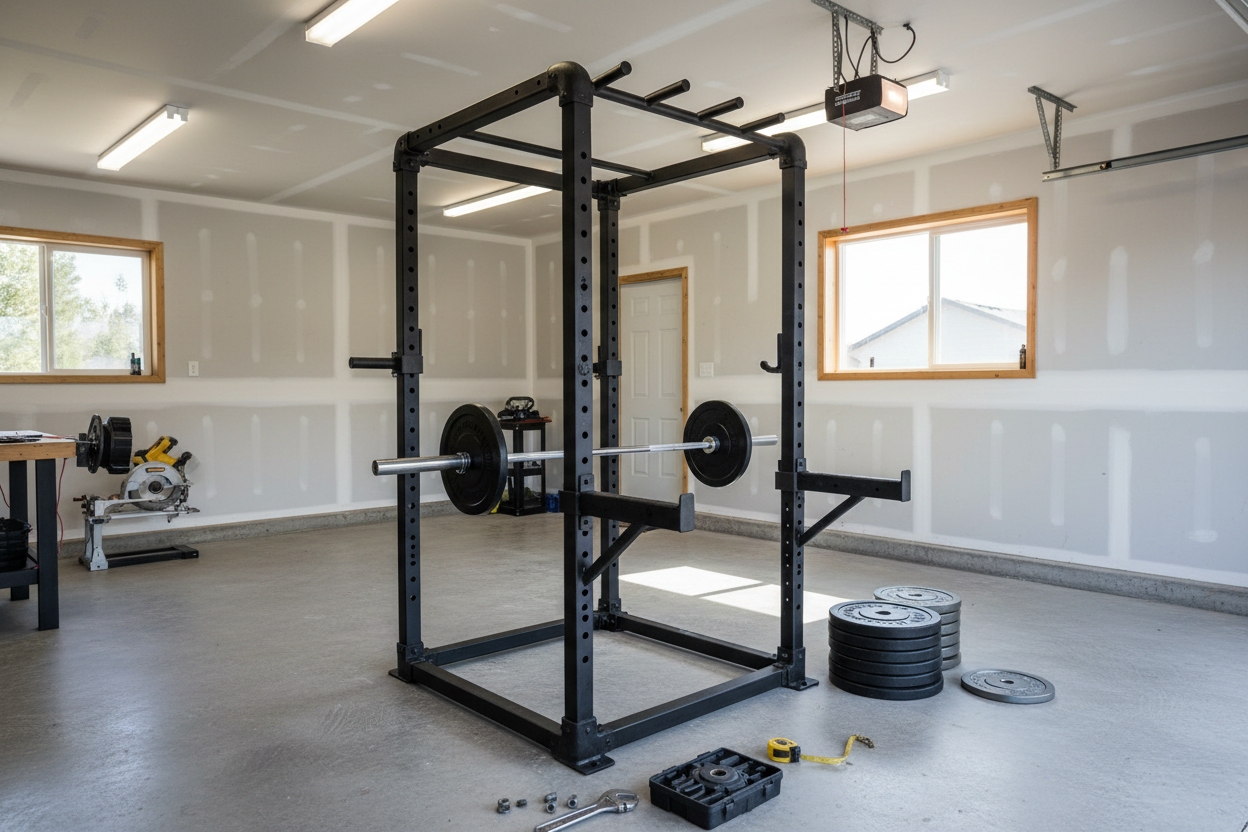
I remember standing in my garage a few years ago, staring at a pile of lumber and feeling a mix of excitement and apprehension. I had just cancelled my gym membership, frustrated by the commute and the waiting times for the squat rack. I decided to make your own power rack rather than buying one, primarily to save money for a better barbell and plates. The process taught me that while the engineering needs to be sound, the construction doesn't have to be complicated. That wooden beast I built held up to years of heavy squats and rack pulls, proving that you don't need fancy welded steel to get strong safely.
Choosing Your Material: Wood vs. Metal
The first decision involves selecting your primary building material. For most DIYers, a squat rack out of wood is the most accessible route. Pressure-treated 4x4 posts are incredibly strong under compression. When laminated together or braced properly, wood can easily support several hundred pounds, which is sufficient for the vast majority of lifters. Wood is also forgiving; if you mismeasure a cut, it is cheap to replace, and you can make adjustments with a simple circular saw.
However, if you have welding experience or know someone who does, a diy steel squat rack offers different advantages. Steel takes up less visual space, resists wear and tear better over decades, and allows for adjustable hole spacing that mimics professional rigs. A homemade squat rack metal project requires more specialized tools—specifically a welder, an angle grinder, and a drill press capable of boring through heavy-gauge steel—but the result is often indistinguishable from store-bought cages. If you choose steel, ensure you are using at least 11-gauge steel square tubing to ensure structural integrity under load.
Critical Dimensions and Planning
Before you buy a single screw or bolt, you need solid power rack diy plans. Winging it is dangerous when you are building something designed to save you from a failed heavy lift. Understanding standard diy power rack dimensions is vital for functionality. Generally, you want an internal width of roughly 42 to 44 inches. If you go too wide, the barbell collar won't sit right; too narrow, and you'll cramp your elbows during squats. Height usually falls between 80 and 90 inches, depending on your ceiling clearance and whether you want to do overhead presses inside the cage.
Depth is another factor. A squat cage diy build usually requires a depth of about 24 to 30 inches inside the uprights to give you room to walk the bar out without tripping, but not so much room that the structure becomes unstable. When drafting your plan, account for the base. A flat, wide base ensures the rack won't tip over during racking or rigorous pull-ups.
Safety Features and Add-Ons
The defining feature of a power rack is safety. You need a mechanism to catch the bar if you fail a rep. In wooden builds, people often use solid steel pipes plumbing through drilled holes. These diy power rack pins are crucial. You must ensure the pipe diameter fits snugly in the holes to prevent wobbling, and the pipe itself must be heavy-duty galvanized steel, not thin decorative piping. Some builders prefer using bucket pins or buying commercial J-cups and safety straps that can be bolted onto their custom rig.
Once the safety aspect is handled, you can look at versatility. A diy squat rack with pull up bar is a massive upgrade for back development. This is easily achieved by running a galvanized pipe across the top connecting beams. If you are working with wood, drilling holes through the top of the uprights and running the pipe through prevents it from spinning. This simple addition turns a squat stand into a full-body calisthenics station.
Outdoor and Space-Saving Solutions
Not everyone has a garage or basement with high ceilings. If you are forced to move your training into the backyard, you should look into a diy outdoor squat rack. The principles remain the same, but material choice shifts. You absolutely need pressure-treated lumber or galvanized steel to prevent rot and rust. You might also need to sink the posts into the ground with concrete, similar to setting a fence post, to ensure stability on uneven ground. An outdoor rack requires regular maintenance, such as water-sealing wood or applying rust-oleum to metal parts, but it allows for training in fresh air which many lifters prefer.
Execution and Assembly
When you are ready to build your own weight rack, take your time with the assembly. Use structural screws or lag bolts rather than standard deck screws. Lag bolts with washers provide immense clamping force that keeps the frame rigid. If you are building with wood, consider using metal bracket ties at the corners for added lateral stability. Check for level and plumb constantly. A rack that leans even slightly will be annoying to use and potentially dangerous under heavy loads.
Remember that the goal is utility and safety. It doesn't have to look pretty, but it has to be solid. Test the rack with lighter weights and aggressive racking to see if it shifts or wobbles. If it does, add diagonal bracing. Building your own equipment is a rite of passage that connects you deeper to your training. Every time you step into that cage, you know exactly what holds it up.
Frequently Asked Questions
Is a DIY wood rack actually safe for heavy lifting?
Yes, provided it is built correctly. A 4x4 post has a crushing strength of thousands of pounds. The weak points are usually the joints, so using high-quality lag bolts, structural screws, and proper bracing is essential to handle heavy loads safely.
How much does it cost to build a DIY power rack?
A basic wooden rack can often be built for $150 to $250 depending on lumber prices in your area. This is significantly cheaper than most commercial racks, though costs can rise if you add specialized hardware or high-end finishing.
What is the best diameter for the safety pins and pull-up bar?
For safety pins and pull-up bars, 1-inch (inside diameter) schedule 40 galvanized steel pipe is a standard choice. It offers a good grip for pull-ups and substantial shear strength for catching a barbell.