Build Serious Hamstrings: The Ultimate Leg Curl Home Gym Guide
Most garage gym owners have a dirty secret: they neglect their hamstrings. It’s easy to focus on squats and deadlifts, but without isolation, your posterior chain development often hits a plateau. While Romanian Deadlifts are great, they don't shorten the hamstring fully like a curl does. This is where integrating a proper leg curl home gym setup becomes non-negotiable for balanced leg development.
If you are tired of relying solely on bands or awkward dumbbell contortions, you are in the right place to fix your setup.
Key Takeaways
- Pivot Points Matter: If the machine's pivot point doesn't align with your knee joint, you risk injury and reduce muscle activation.
- Attachment vs. Standalone: Rack attachments save space but often sacrifice stability; standalone machines take up room but offer superior biomechanics.
- The "Shin Roll" Factor: High-quality pads must rotate as you curl; fixed pads will cause friction burns and limit your range of motion.
- Resistance Profiles: Plate-loaded machines often have a "dead spot" at the top of the movement compared to cable-driven selectorized units.
Why Hamstring Isolation is Hard at Home
In a commercial facility, you jump on a selectorized machine, adjust the pin, and go. At home, the logistics change. The primary issue with a standard home gym with leg curl capability is biomechanics.
Many budget benches include a leg developer attachment at the end. The problem? The distance between the seat edge and the roller is often fixed. If you are taller than 6'0" or shorter than 5'5", the pad lands on your heels or your calves, rather than the sweet spot on the Achilles tendon. This misaligns the force vector, putting stress on your knee ligaments rather than the muscle belly.
Choosing Your Setup: The Three Paths
1. The Rack Attachment
This is the most popular modern solution. You buy a specialized arm that pins into your power rack uprights.
The Science: These are generally superior to bench attachments because they allow you to adjust the height relative to your body. However, pay attention to the "strength curve." Because these are usually plate-loaded, the movement is hardest when the lever arm is horizontal to the ground. If that peak resistance doesn't match where your muscle is strongest, the movement feels jerky.
2. The Bench Attachment
This is the old-school method. You slide a leg developer into the front of your adjustable bench.
The Reality: These are space-savers, but stability is the enemy here. As you curl heavy loads (80lbs+), the back of the bench often lifts off the ground unless you counterbalance it. It gets the job done for beginners, but advanced lifters will outgrow the stability limits quickly.
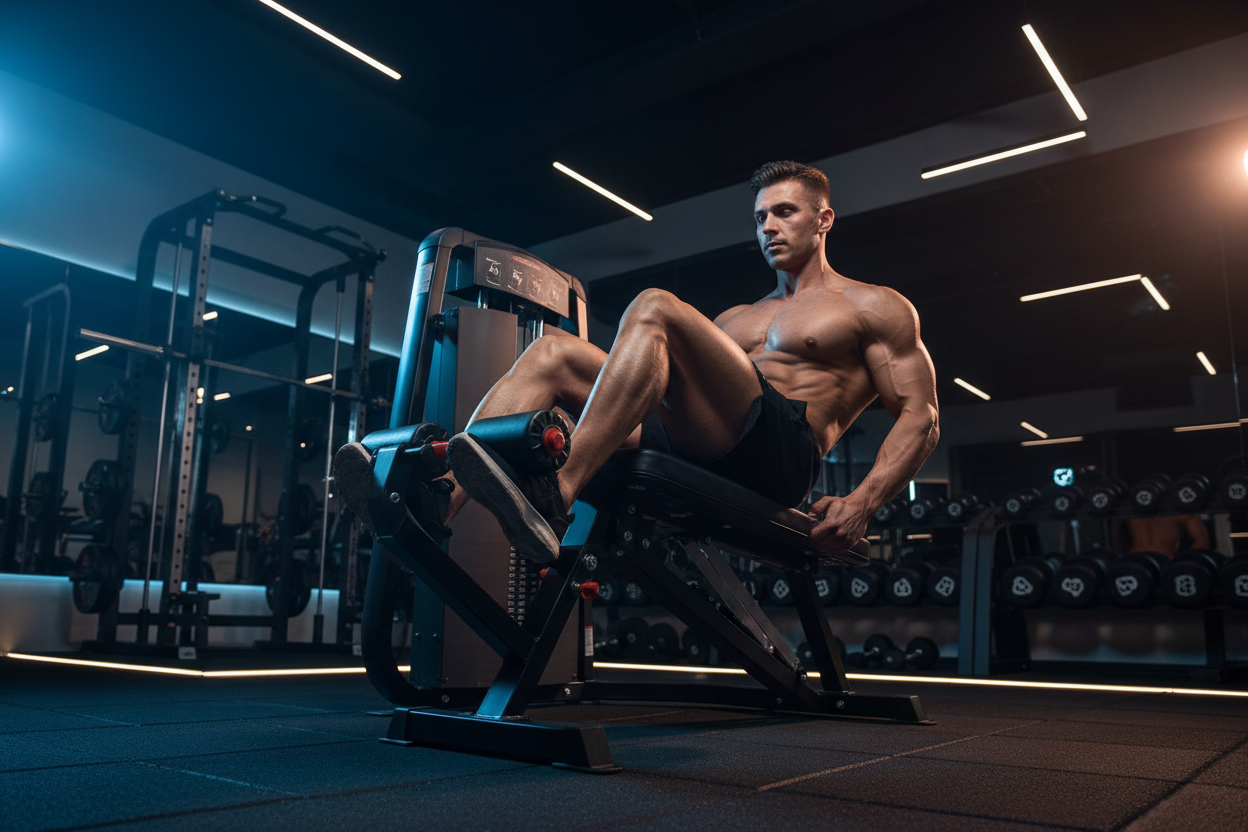
3. The Standalone Unit
If you have the floor space, a dedicated prone or seated leg curl unit is the gold standard.
Why it wins: Stability and cam systems. A good standalone machine uses a cam (a kidney-shaped pulley) to smooth out the resistance. This ensures the weight feels consistent from the bottom of the stretch all the way to the peak contraction.
Technique: Stop Wasting Reps
Having the gear is only half the battle. I see too many people swinging the weight up.
To get the most out of your leg curl home gym equipment, you must lock your hips down. If your hips rise off the pad (in a lying curl) or you lean too far forward (in a seated curl), you are recruiting your lower back and glutes to help move the load. Keep your hips glued to the pad. If they move, drop the weight.
My Training Log: Real Talk
Let me tell you about the first time I bought a budget leg curl attachment for my rack. On paper, it looked perfect. In reality, it was a friction nightmare.
The specific issue wasn't the weight capacity; it was the vinyl on the roller pads. It was cheap and tacky. About six reps into a heavy set, as I started to sweat, the pad wouldn't roll with my leg. It dragged against my skin, essentially giving me an "Indian burn" on my shins with every rep. I had to start wearing long socks just to finish a leg day.
Furthermore, there was a distinctive "clank-wobble" at the top of the contraction. Because the attachment pin had about 2mm of play inside the rack upright, the whole unit would shift downward right as I squeezed the rep. That tiny instability kills your mind-muscle connection because your brain switches from "squeeze the hamstring" to "stabilize the metal." If you are buying an attachment, buy one with a tightening knob (hitch pin) to eliminate that wobble. Trust me, your hamstrings will thank you.
Conclusion
Building a complete home gym with leg curl functionality doesn't require a $3,000 commercial machine, but it does require being picky about pivot points and stability. Don't settle for wobbly attachments that hurt your joints. Invest in gear that aligns with your biomechanics, lock your hips down, and finally bring those hamstrings up to par with your quads.
Frequently Asked Questions
Can I do leg curls with just a dumbbell?
Yes, you can lie face down on the floor or a bench and hold a dumbbell between your feet. However, the resistance curve is poor; there is zero tension at the bottom of the movement, and the dumbbell can easily slip once your feet get sweaty, making it a risky maneuver for heavy loading.
Is a seated or lying leg curl better for home gyms?
Science suggests the seated leg curl elicits slightly more hypertrophy because it trains the hamstring in a lengthened position (due to hip flexion). However, lying leg curl machines are generally more compact and easier to find for home setups.
How much space do I need for a standalone machine?
A typical plate-loaded leg curl machine requires a footprint of roughly 5 feet by 4 feet. However, you must account for the loading pin; ensure you have an extra 12-18 inches on the side to actually slide the weight plates on and off.

