Big Bum in 2 Weeks: Neuromuscular Foundations, Movement Vector Blueprints, and Home Floor Staging
Searching for ways to build a big bum in 2 weeks often leads to exaggerated promises and unrealistic timelines. While building substantial new muscle tissue requires months of structured mechanical tension and nutritional support, embarking on a dedicated 2 week glute transformation can yield noticeable initial improvements. Over a fourteen-day span, targeted training can enhance neuromuscular recruitment, refine pelvic posture, increase localized blood flow, and establish movement patterns that set the stage for sustained lower-body development.
Understanding the 14-Day Timeline: Realistic Glute Adaptations
When working toward a bigger butt in 2 weeks, it is helpful to understand the physiological mechanisms occurring in the body. During the early stages of a training program, noticeable changes in muscle appearance and firmness stem from three primary adaptations rather than rapid tissue hypertrophy:
- Neuromuscular Priming: Sedentary routines often lead to underactive gluteal muscles. Early training sessions re-establish neural pathways, allowing for more complete motor unit recruitment during hip extension and abduction.
- Transient Hyperemia and Tone: Resistance training increases localized blood flow and fluid delivery to active muscle fibers, creating a temporary fullness and improved baseline tension.
- Postural Alignment: Strengthening the posterior chain helps correct excessive anterior pelvic tilt, lifting the visual line of the hips and glutes naturally.
For a realistic breakdown of how muscle tissue responds to training over time, exploring an in-depth butt glute guide can provide helpful context on long-term growth mechanics.
The 4-Vector Glute Activation Architecture
Achieving balanced recruitment across the gluteus maximus, medius, and minimus requires training along multiple planes of motion. Anyone researching how to get a bigger buttocks in 2 weeks or how to get a firm bum in 2 weeks should incorporate four key movement vectors into their routine:
1. Horizontal Vector (Hip Thrusts and Glute Bridges)
Horizontal hip extension exercises place maximum tension on the gluteus maximus at peak contraction. Performing bridges on a stable surface ensures consistent pelvic lockout and prevents compensatory lumbar arching.
2. Vertical Vector (Squats and Hinges)
Vertical movements, such as goblet squats and Romanian deadlifts, load the glutes under a deep stretch. Controlling the eccentric descent maximizes mechanical tension across the lower fibers of the posterior chain.
3. Lateral Vector (Abductions and Lateral Walks)
Targeting the upper glute shelf requires hip abduction. Banded lateral walks, side-lying leg raises, and seated band abductions recruit the gluteus medius and minimus, stabilizing the pelvis during single-leg tasks.
4. Diagonal and Rotational Vector (Kickbacks and Lunges)
Diagonal kickbacks and reverse deficit lunges combine extension with slight external rotation, matching the anatomical fiber orientation of the gluteal complex. To explore complementary movement combinations, consult a structured butt glute guide for practical exercise variations.
The 14-Day Foundational Movement Protocol
To pursue a bigger booty in two weeks while avoiding excessive fatigue, focus on deliberate muscle engagement, controlled tempos, and brief isometric holds. If your goal is learning how to get a perky bum in 2 weeks through better posture and tone, structure your two-week onboarding routine around four alternating workout days per week:
- Day 1 & Day 8 (Horizontal & Lateral Focus): Floor glute bridges (3 sets of 15 repetitions with a 2-second hold at the top), banded side-lying abductions (3 sets of 20 repetitions per side), and quad quadruped kickbacks (3 sets of 12 controlled repetitions).
- Day 3 & Day 10 (Vertical & Diagonal Focus): Bodyweight box squats with hip external rotation cues (3 sets of 12 repetitions), Romanian deadlifts using light external resistance (3 sets of 10 repetitions with a 3-second eccentric lower), and reverse lunges (3 sets of 10 repetitions per leg).
- Day 5 & Day 12 (Comprehensive Neural Activation): Single-leg hip bridges (3 sets of 8 to 10 repetitions per side), standing diagonal kickbacks (3 sets of 15 repetitions), and isometric bridge holds (3 rounds of 30-second sustained contractions).
- Rest Days: Light walking, dynamic hip mobility drills, and targeted hip flexor stretching to prevent anterior tightness.
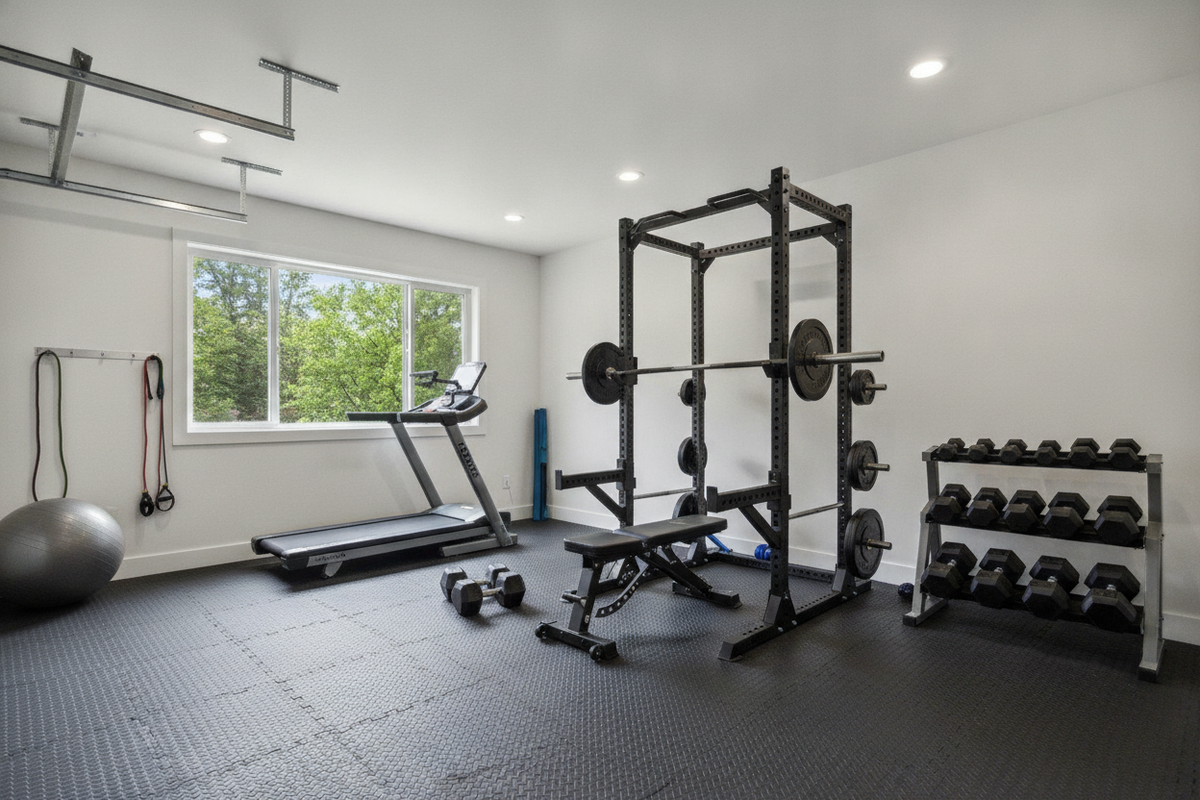
Floor Staging and Subfloor Protection for Glute Training
Home glute training relies heavily on ground-based floor exercises, hip thrust setups, and kneeling activation drills. Creating a dedicated workout zone with proper flooring significantly enhances exercise execution and comfort:
- Traction and Horizontal Force Transfer: Executing effective glute bridges requires your feet to remain firmly anchored. Exercising on slick tile or bare hardwood can cause the feet to slide forward, shifting tension away from the glutes and onto the hamstrings. A high-density textured exercise mat provides the friction needed for direct downward and backward drive through the heels.
- Joint Cushioning for Kneeling Drills: Quadruped kickbacks, bird-dogs, and kneeling hip hinges concentrate body weight onto the kneecaps. Dense rubber or supportive foam matting cushions the patellar tendon and prevents discomfort against hard subfloors.
- Bench Anchoring and Subfloor Protection: When progressing to elevated hip thrusts against a bench or platform, the base of the bench must not shift. A heavy-duty floor mat stabilizes the contact points, dampens vibration, and protects finished flooring from scuffs or pressure marks.
Transitioning Beyond Two Weeks: Sustained Progressive Overload
The conclusion of a 14-day introductory block marks the transition from neuromuscular priming to genuine muscle hypertrophy. Once you have established consistent movement mechanics and strong mind-muscle connection, continue developing lower-body strength by applying progressive overload:
- Add External Resistance: Gradually incorporate dumbbells, kettlebells, or barbells to challenge hip extension movements.
- Increase Training Volume: Systematically increase the number of working sets or weekly frequency as recovery capacity improves.
- Refine Range of Motion: Elevate the front foot on split squats or utilize full-depth hip thrusts to increase time under tension.
To build a comprehensive long-term program tailored to your goals, follow a dedicated big booty glute guide designed for progressive home strength training.